

Winter is right around the corner, which means everyone will do everything they can to stay nice and warm. But one thing people tend to forget is that the warmer your air is, the drier it is too. That’s because during the heating process, your furnace strips the air of its moisture as it pumps throughout your home, causing the air to feel considerably dry.
Why is Humidity Important to your Air Quality?
One of the most important ways to maintain proper air quality is by adjusting the humidity. In the summer, we usually try to bring humidity levels down, but during the winter, humidity levels can drop way below the recommended range of 35-50%.
Overall, humidity helps keep your home and your family be more comfortable and healthier as it gets colder outside. You’re probably not willing to sacrifice warmth to keep your air less dry, so how can you maintain the right balance of both? Introducing: whole-home humidifiers.
How Does a Whole-Home Humidifier Work?
There are three types of whole-home humidifiers that can help you integrate more water into the ducts of your home’s HVAC system, keeping your air from drying out as it warms up.
- Steam Humidifiers – connects to your home’s water supply and electrical system, heating the water until it evaporates into steam before being injected into your home’s heating ducts.
- Drum Humidifiers – uses a rotating drum to wick water through a sponge, turning it into water vapor so as hot air passes through the center of the drum, moisture is introduced before spreading throughout the home.
- Flow-Through or Moisture Pad Humidifiers – only connects to your water supply with no moving parts or electricity needed. Hot air flows from your furnace to an evaporator pad where it picks up moisture and adds it to the stream of air flowing throughout your home.
The Benefits of a Whole-Home Humidifier
Whole-home humidifiers attach to your home’s HVAC system, using less energy to add moisture throughout your entire home versus single-room or stand-alone humidifiers. And the best part is you can actually feel the benefits.
Healthier Air
Just think of all the skin moisturizer and chapstick you use throughout the winter months. When the air’s humidity is low, it can dry out the nasal passages, leading to irritation of the eyes, nose, mouth, or even respiratory illness. Have a loud snorer in your home? The dry air may be to blame.
And just as it causes skin to harden and crack, it can actually do the same to wooden furniture and floors. Dry air can cause these items to shrink, warp or crack, and paper products, like books, posters, and photos, are at risk of the same fate, as they become more brittle. By maintaining that 35-50% humidity, both your family and your home will stay in tip-top shape throughout the season.
Lower Energy Bills
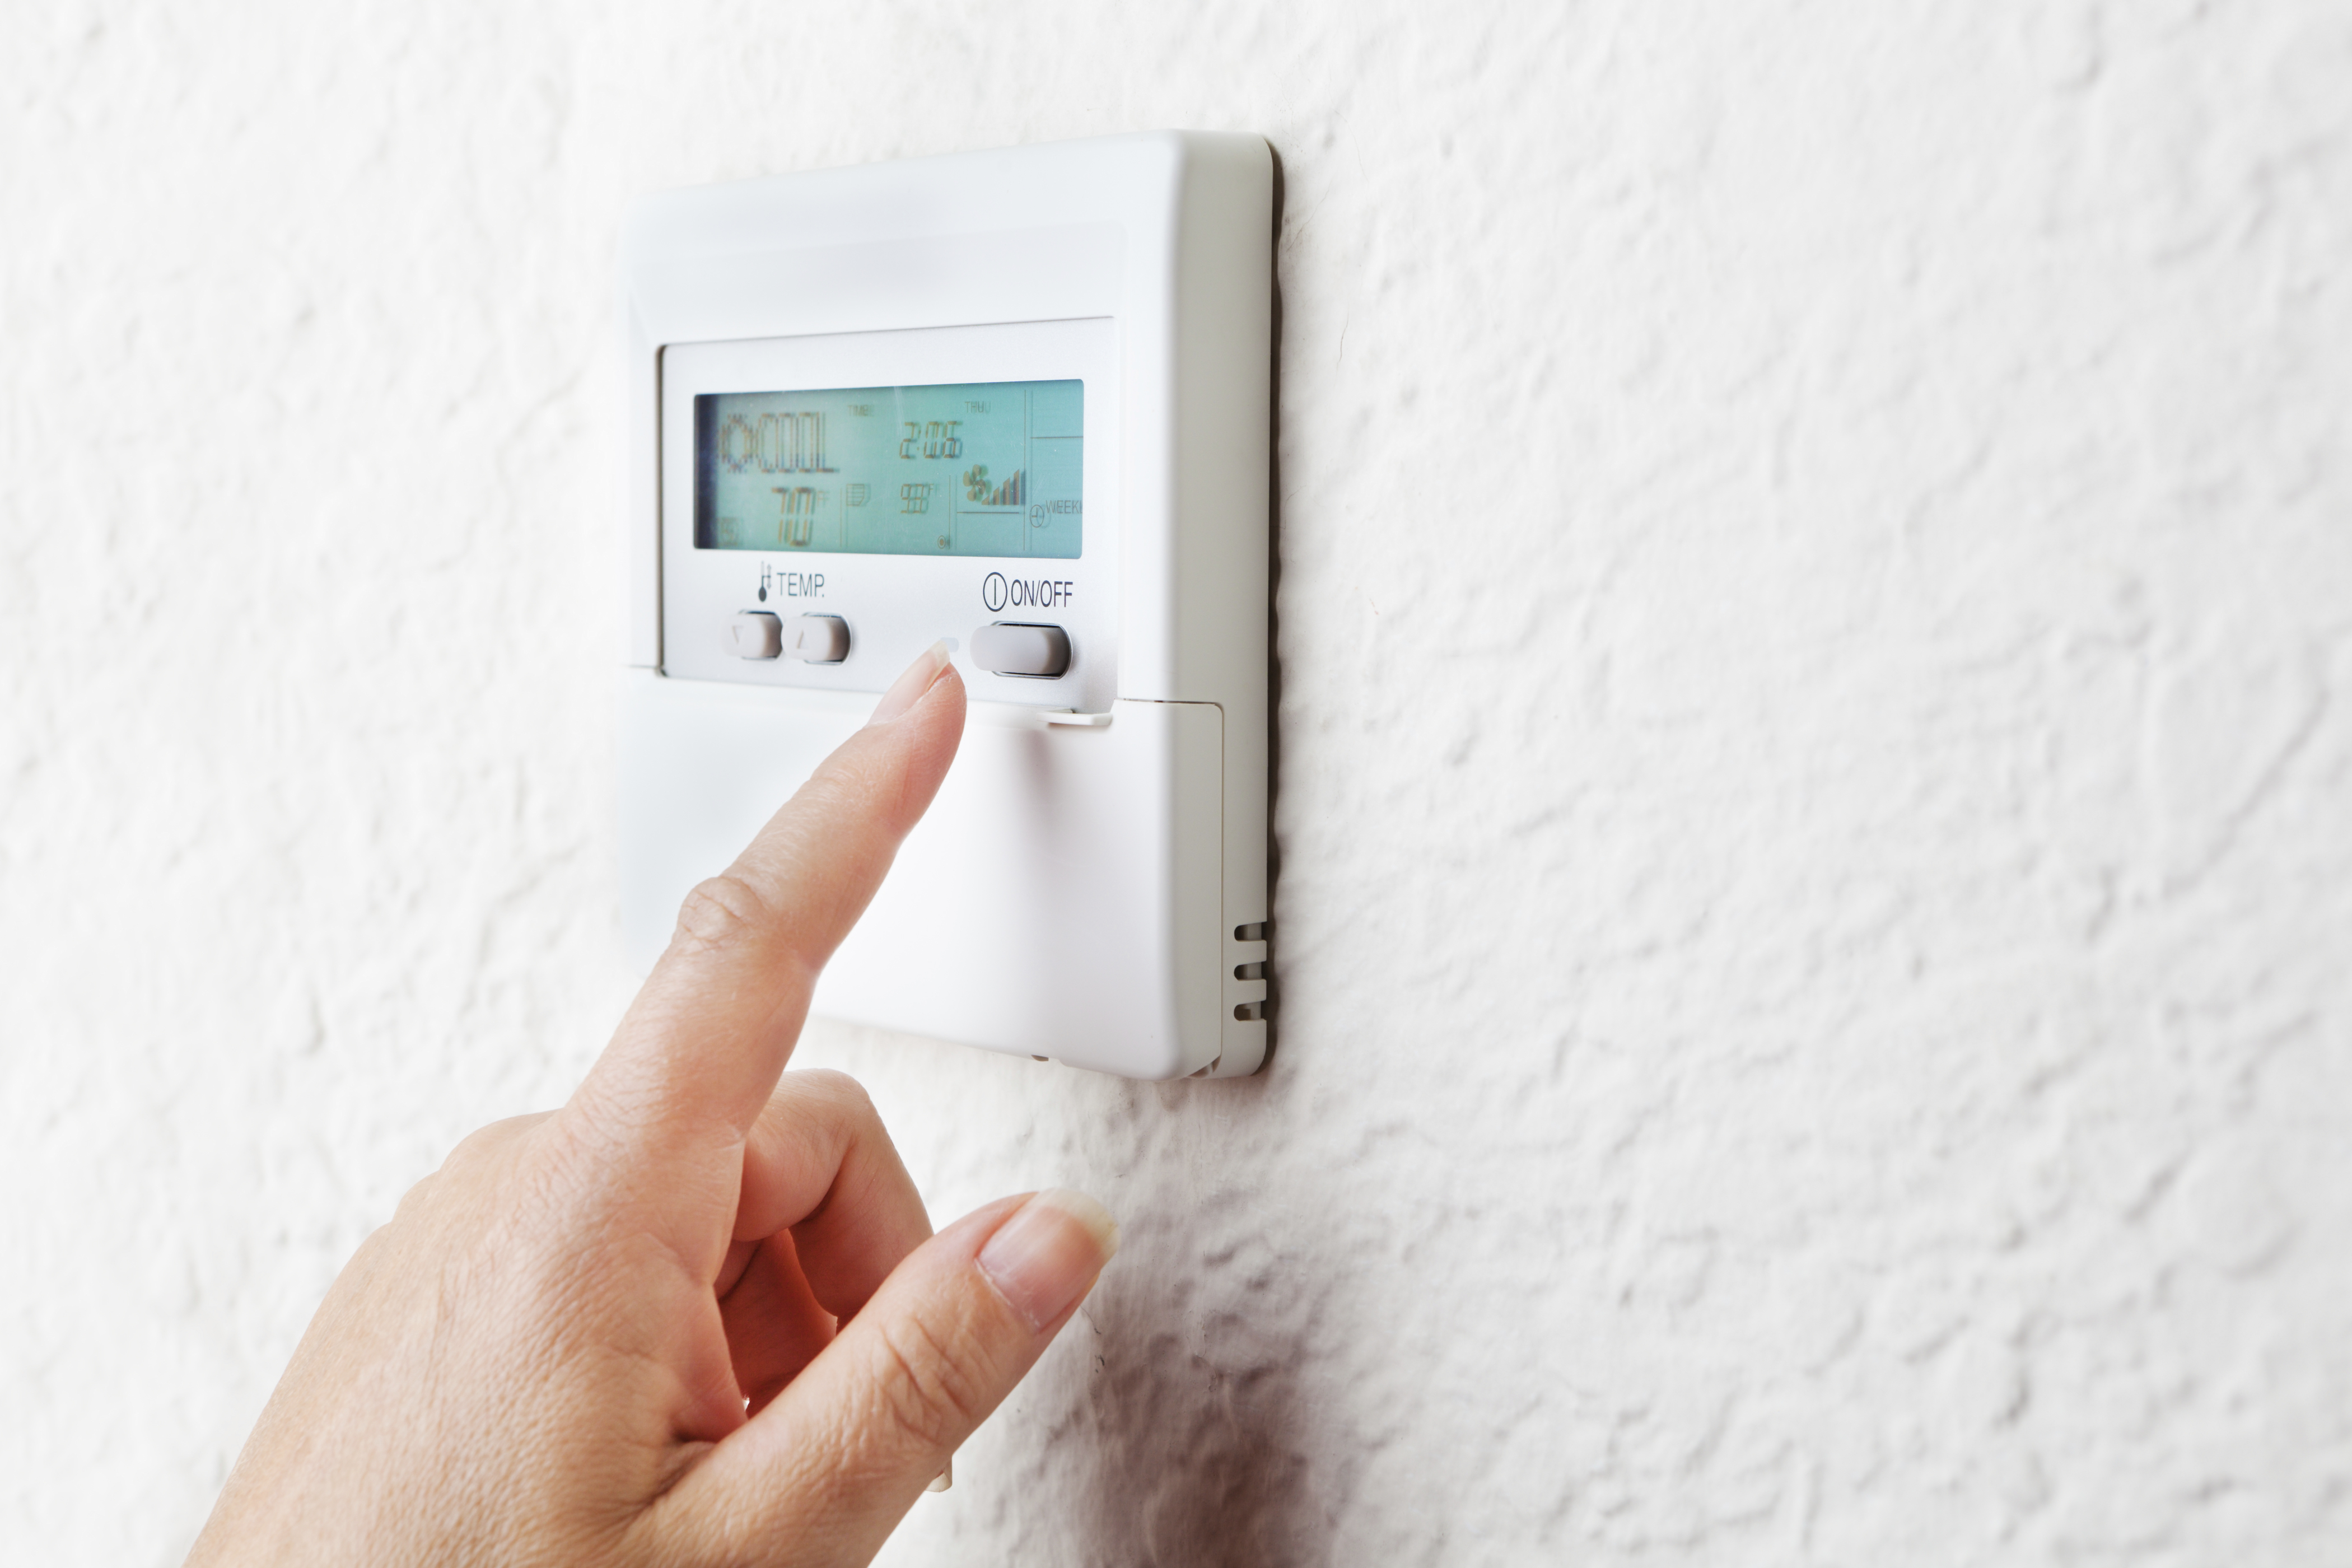
Who doesn’t like saving on their energy bills? By adding moisture in the air, your home will actually feel warmer at a lower temperature too. This means you can increase the efficiency of your heating system and feel more comfortable inside as it gets colder outside. Likewise, the less moisture in the air, the cooler it will feel, so instead of turning up the thermostat and jacking up those bills, a whole-home humidifier is the way to go.
Less Static
Dry air actually causes static too. So as your humidifier increases moisture levels, it will minimize the likeliness of clinging clothing and unexpected shocks for everyone in the household.
If making your home as warm and comfortable this winter sounds pretty good, our HVAC experts are happy to help! Contact us to learn more about our professional grade humidifiers, so you can be fully prepared for the cold winter months ahead.
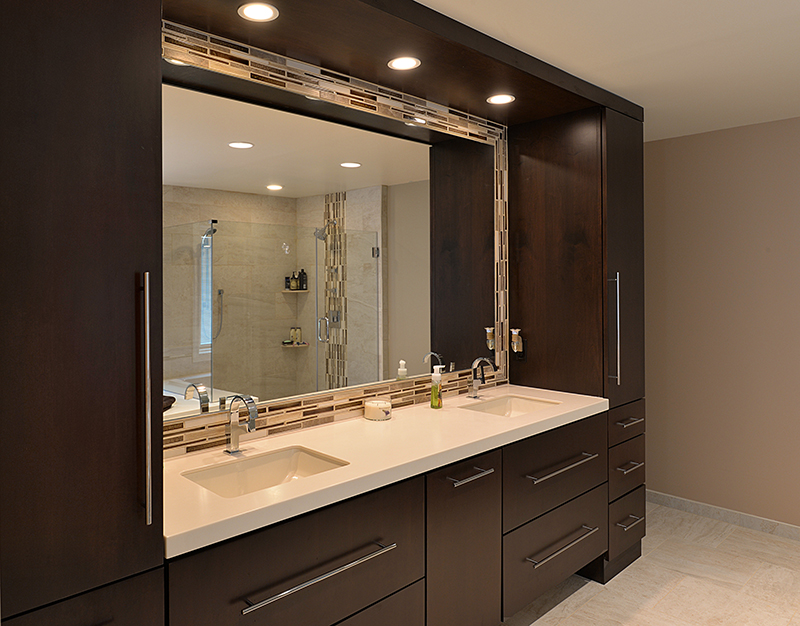
The bathroom is the most utilized room in the house. So when it’s time to plan for a redesign, it’s a pretty exciting time. But it’s also a tricky undertaking too. With both plumbing and wiring involved, you’ll have multiple contractors and tasks going on simultaneously throughout the process. While every bathroom redesign is different, there are some universal steps to prepare and things to expect during your project. Here’s what you need to know:
Prepping for Your Bathroom Redesign
- Create a Budget
First things, first, establish your budget. It’s one of the most important aspects of your redesign because it will affect all the others. Figure out what you’re able to spend and determine your limits. Once you have the number in in place, you can start a prioritized checklist, categorizing your must-haves over your can-do-withouts. When you start getting estimates from your contractors for materials and labor, you’ll get a better idea of what’s possible and start imagining your beautiful new bathroom! - Determine Your Design Inspiration
Somewhere in your budgeting, you’ll want to start getting inspiration for your bathroom. Whether you have a vision in mind or don’t even know where to begin, start looking through home magazines and websites like Zillow Digs or Houzz for ideas. You’ll get a glimpse at the latest styles, color trends, and features and can start pulling pics to create your own design board. But make sure you’re designing for the long haul (or resale depending how long you plan to stay in your home), so you’re not forced to schedule a do-over a few years down the road. - Clear the Work Area
As you get closer to demo day, think about how the project will affect the rest of your house. Where will the contractor park? What’s the easiest path for him to travel in and out of your house? It’s pretty unrealistic to expect your contractor to take his shoes off at the door, so cover floors with old towels or drop cloths to protect them. You should also try removing any mobile items in his work area. Soaps, shampoos, tooth brushes, bathmats, etc. should all be cleared out before the contractor gets there, so he can get to work right away. - Collect Your Materials
Before the project starts, you’ll also want to make sure you have all the materials necessary to begin. Whether it’s tile for the floors or fixtures for the vanity, having everything on-site and ready to go is the best way to prevent delays. So what if your cabinets come in a few weeks late? Well, in a few weeks, your contractor is now juggling three other projects. So even though your tiles are finally ready, you’re now stuck waiting for someone to install them. - Set Up a Makeshift Bath
If you or your family depends on that bathroom for daily use, make sure you ask the designer/builder to set up a temporary bath – usually accomplished with a fiberglass shower unit in a basement or somewhere with a utility tub floor drain. The same is possible for a toilet. It will require a bit of your budget, but it may be worth it if your neighbors don’t really appreciate frequent house guests using their water.
What To Expect During Your Bathroom Redesign
- Dealing with the Dust
Yes, sanding drywall, ripping old tile, and cutting out a tub will likely result in a lot of dust. And foot traffic will only amplify the amount of that dust traveling into other areas of the house. Most contractors should have some sort of fan to place in the window to create a backdraft that pulls the dust-filled air outside. But you can prepare in other ways, like covering the floors, getting additional fans (ones with timers are even better), and keeping other windows of the house open, weather permitting. - Expecting the Unexpected
No matter how much time you put into carefully detailed planning, delays are sometimes inevitable. Assume the redesign will take longer than anticipated, so it’s not chaos in your home if surprises do arise. By assuming a slightly longer timeline, you’ll avoid any added frustration in the end. In other words, don’t plan for overnight guests the weekend after your slated completion date.
Those unwanted surprises may also add to your budget too. Not all contractors do a great job at communicating the risk of unplanned, added costs throughout the project. Hidden conditions like termite damage, improper wiring, outdated plumbing, etc. are things you have to take care of, whether you budgeted for them or not. So give yourself a 10-20% cushion on your budget, just in case. - Having Fun!
The thing to always remember throughout the redesign process is the reason you’re doing it. Whether it’s a larger space for the kids to get ready for school or a more luxurious place for you to relax after a long day, you’re always just a few weeks away from enjoying the results. And most homeowners love seeing the progress as it all comes together, so take some before, during, and after photos to look back on. The work may be inconvenient at the time, but embracing the situation and focusing on the reward at the end is the way to go!
If you’re considering a bathroom redesign, Madsen Inc. can help you prepare and ensure that your project goes as smoothly as possible. To discuss your renovation plans, contact us today!